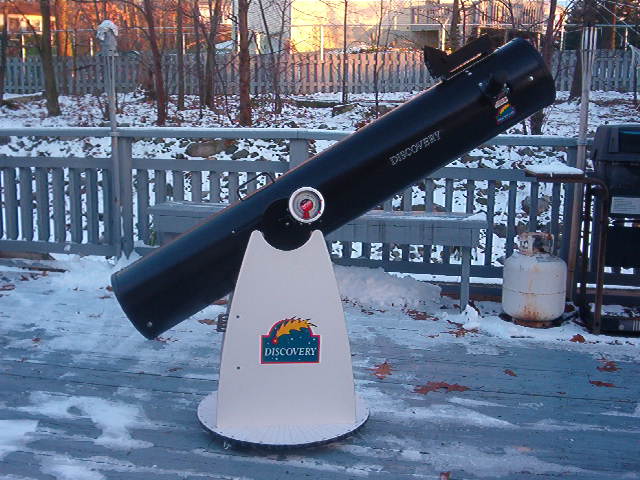
I wanted to keep the modifications very simple for two reasons. First, this was my first telescope and it was not cheap. Second, I really didn't want to spend a lot more money until I got some experience. With this in mind, I used double stick foam tape to hold the protractor to the scope. The first circles I put down was just held in place with tape. It lasted 3 months. The total cost of these modifications was less than $20.00
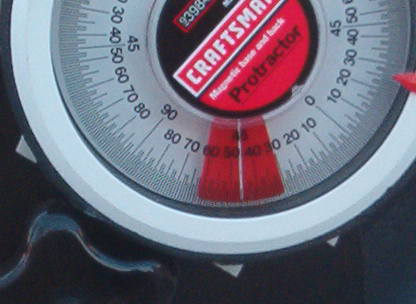
After testing the carpenter's Protractor for a few weeks I cut off the square parts leaving only the center piece. This was done with a Dremel tool. It was then attached to the scope with double stick tape. I could have placed it anywhere, but I felt this was the best place because the area was flat and it was not likely to get knocked off. The current installation is off be 3 degrees so I have to remember to compensate for each target. It provide accuracy of +/- 1 degree of altitude.

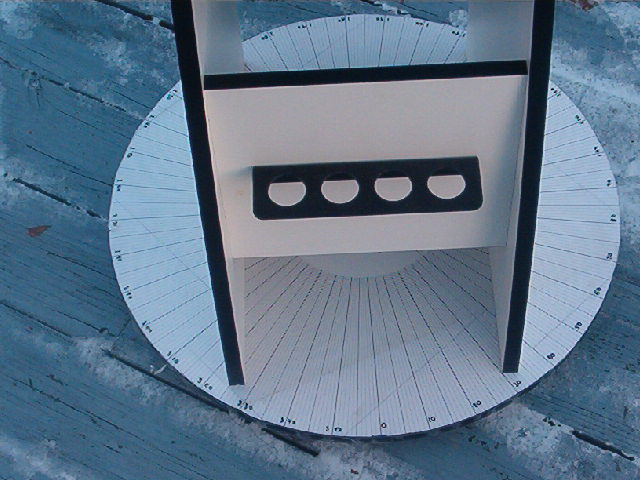
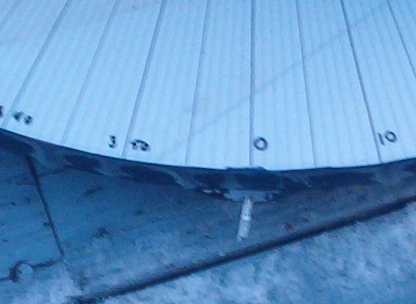
The base has the big printout which was covered with clear contact paper. That keeps out the beverages and dew. The 0 degree indicator could be anywhere except below the mirror. This is because when you align with Polaris the body of the scope is in the way of getting a good reading. I prefer to align the 0 degree mark to roughly match the direction the scope is pointing. With this installation I just set the scope down with the metal tab pointing north. The little white metal tab is a cup hook (for in your kitchen cabinet). In this picture it is pointing down and to the left. It is screwed into the lower part of the base which does not move as the scope is turned. It serves as the Azimuth indicator. After I roughly align the scope I find Polaris in the eyepiece and then adjust the base so the indicator is directly under the 0 degree mark. This normal takes 3 or 4 adjustments.